Setup Hardware
There are five core components in a standard MAINFRAME-B setup. Start here before connecting power or MIDI.
Components
MAINFRAME-B Controller
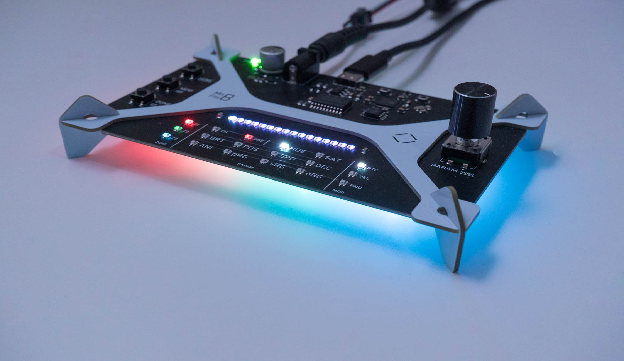
The controller is the brain of the system. It processes MIDI, handles parameters and presets, renders animations, and provides the UI.
LEDs (WS2812b / Neopixel)
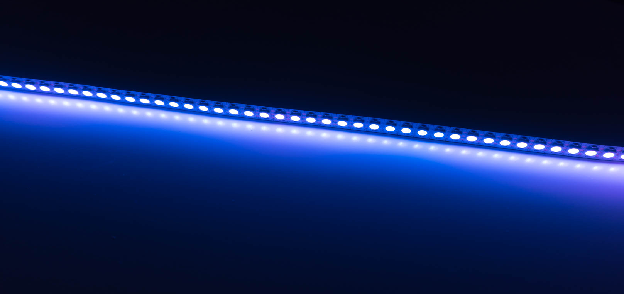
MAINFRAME-B supports WS2812b LEDs (aka Neopixels) in strips, grids, rings, or other form factors. It treats all LEDs as one continuous sequence.
It also supports WS2815 (same protocol) but those run on 12V and need a different power setup.
LED Cable
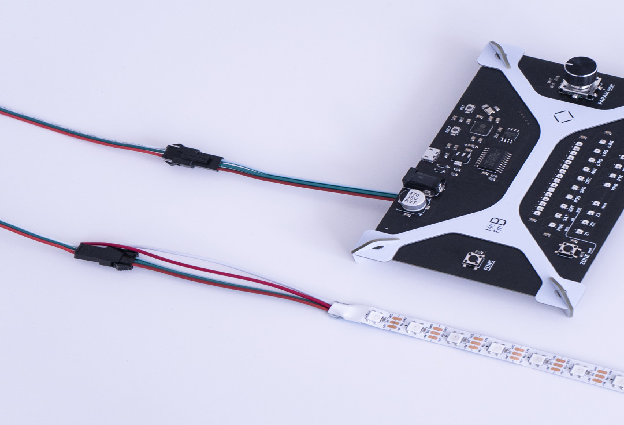
Extension cable for flexibility in placement. It is keyed, so it only connects one way.
Note: LEDs can become glitchy if the cable is longer than 5 meters.
Power Supply
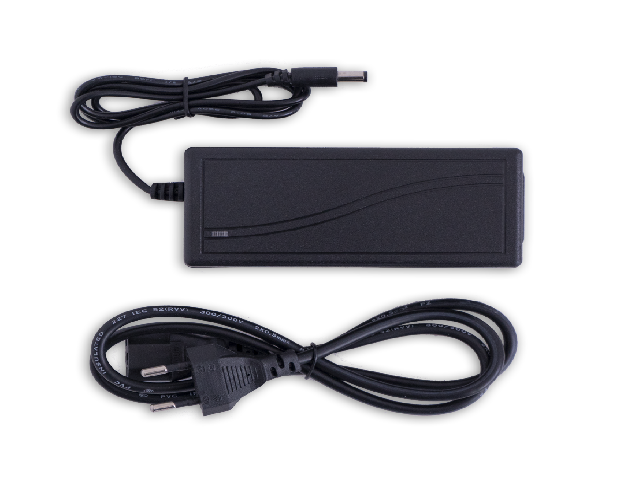
Starter kits ship with a 5V, 5A supply, enough for smaller strips. Long strips or full brightness may require additional power supplies.
Barrel connector size: 5.5mm outer, 2.5mm inner.
Important: Do not plug in more than 5V.
USB Cable

USB-C on the controller is used for USB-MIDI and to power the controller. USB does not power the LEDs.
Note: The controller requires USB-A on the host side. USB-C to USB-C is not supported in this version.
3.5mm TRS to 5-pin MIDI Dongle (B+ Only)
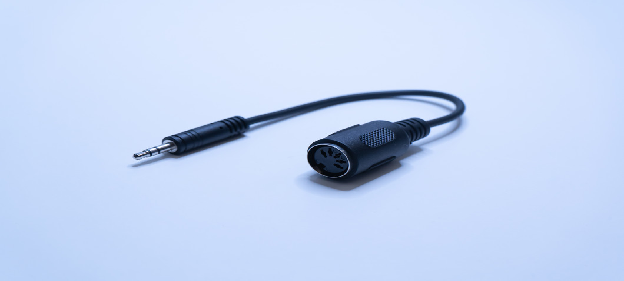
Required for B+ to connect a 5-pin MIDI cable. The dongle type is Type A.
Connect Everything
Order does not matter, but this flow highlights the startup animation:
- Power the controller with the external supply. The green PWR LED should light.
- Connect the LED strip through the extension cable.
- Connect USB for MIDI data. If you are using multiple devices, a powered USB hub is recommended.
- If needed, connect the 3.5mm TRS to 5-pin MIDI dongle between the MIDI cable and the controller.